Captcha Configuration
To enhance platform security and prevent automated access, the store can enable the Google reCAPTCHA feature by selecting one of the pre-integrated options available in the marketplace.
This reCAPTCHA functionality is applicable for the following interfaces:
- Vendor
- Store Front
- Store Management Portal
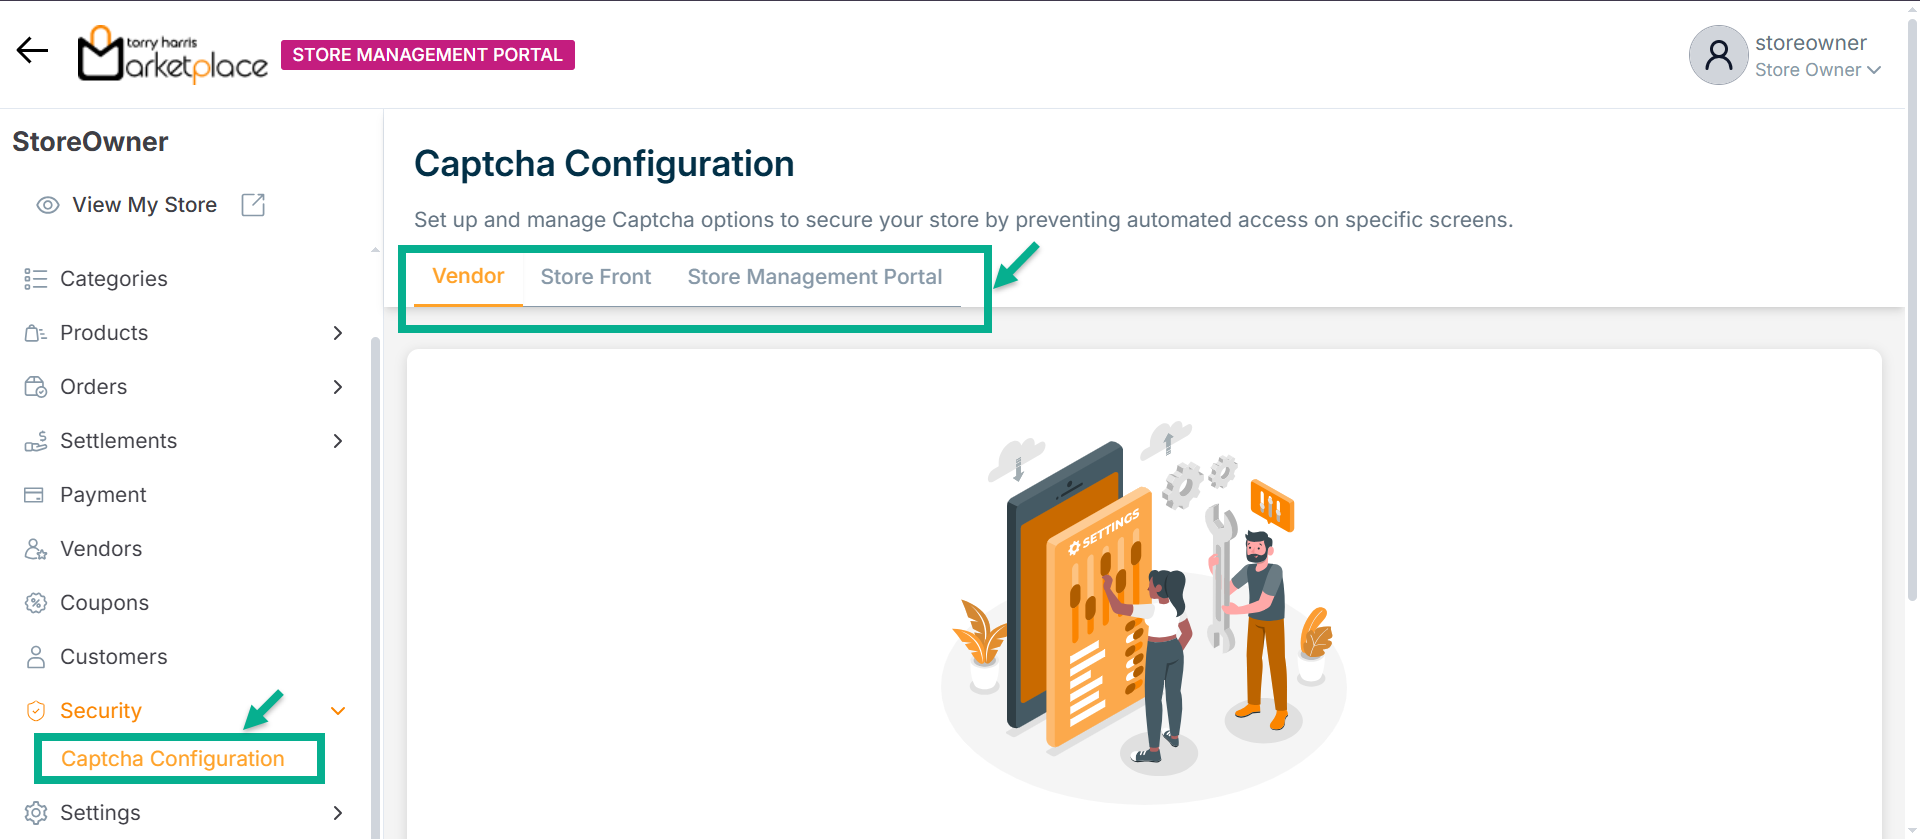
Configuring Captcha
Example: Configuring CAPTCHA for Vendor Portal
- Click Configuration Captcha.
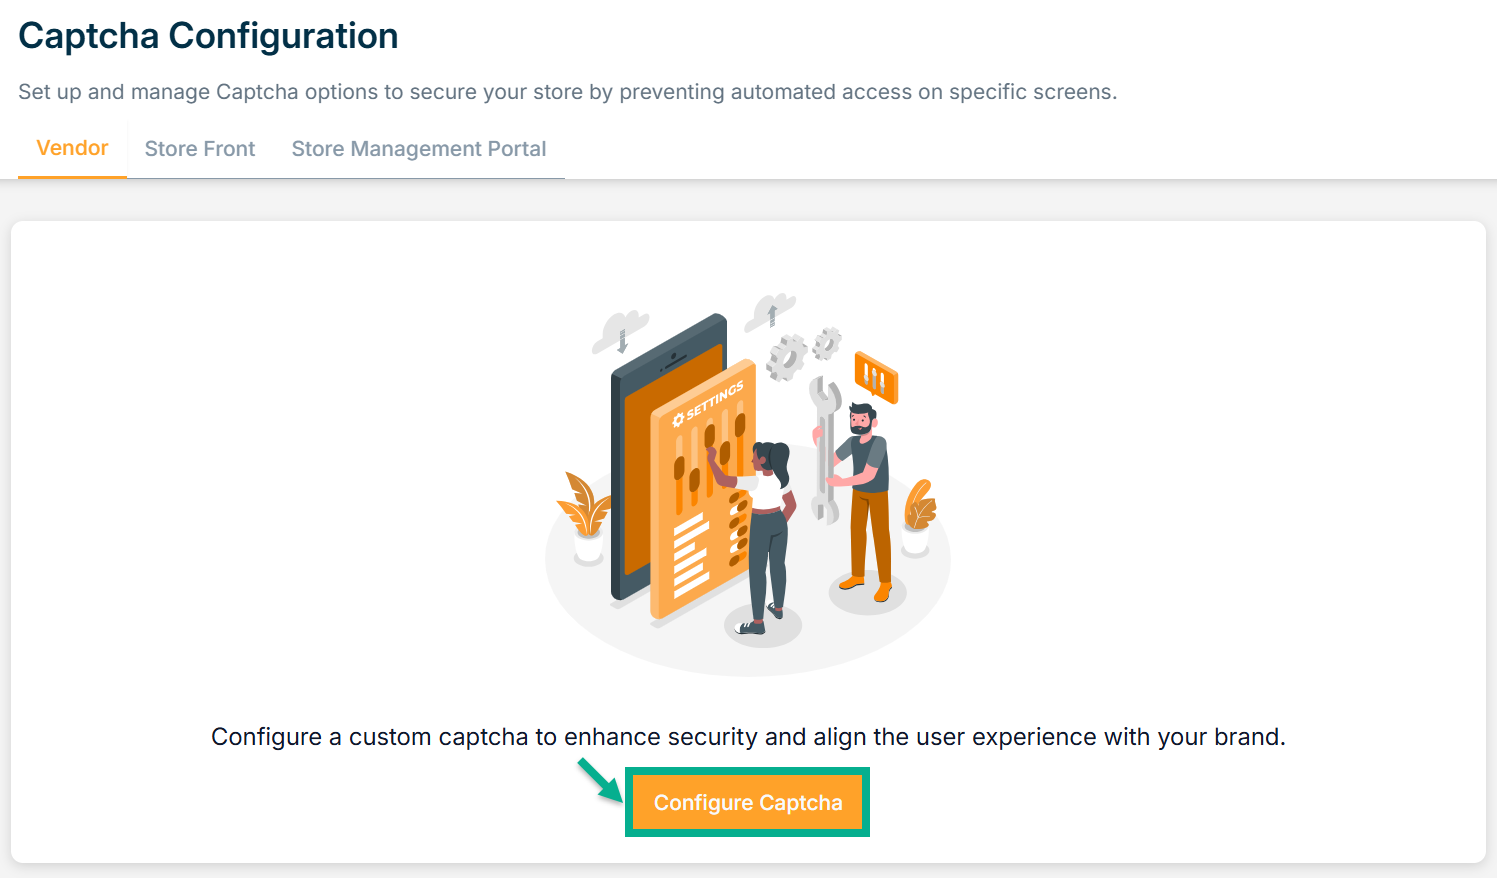
The Captcha Configuration screen appears as shown below.
-
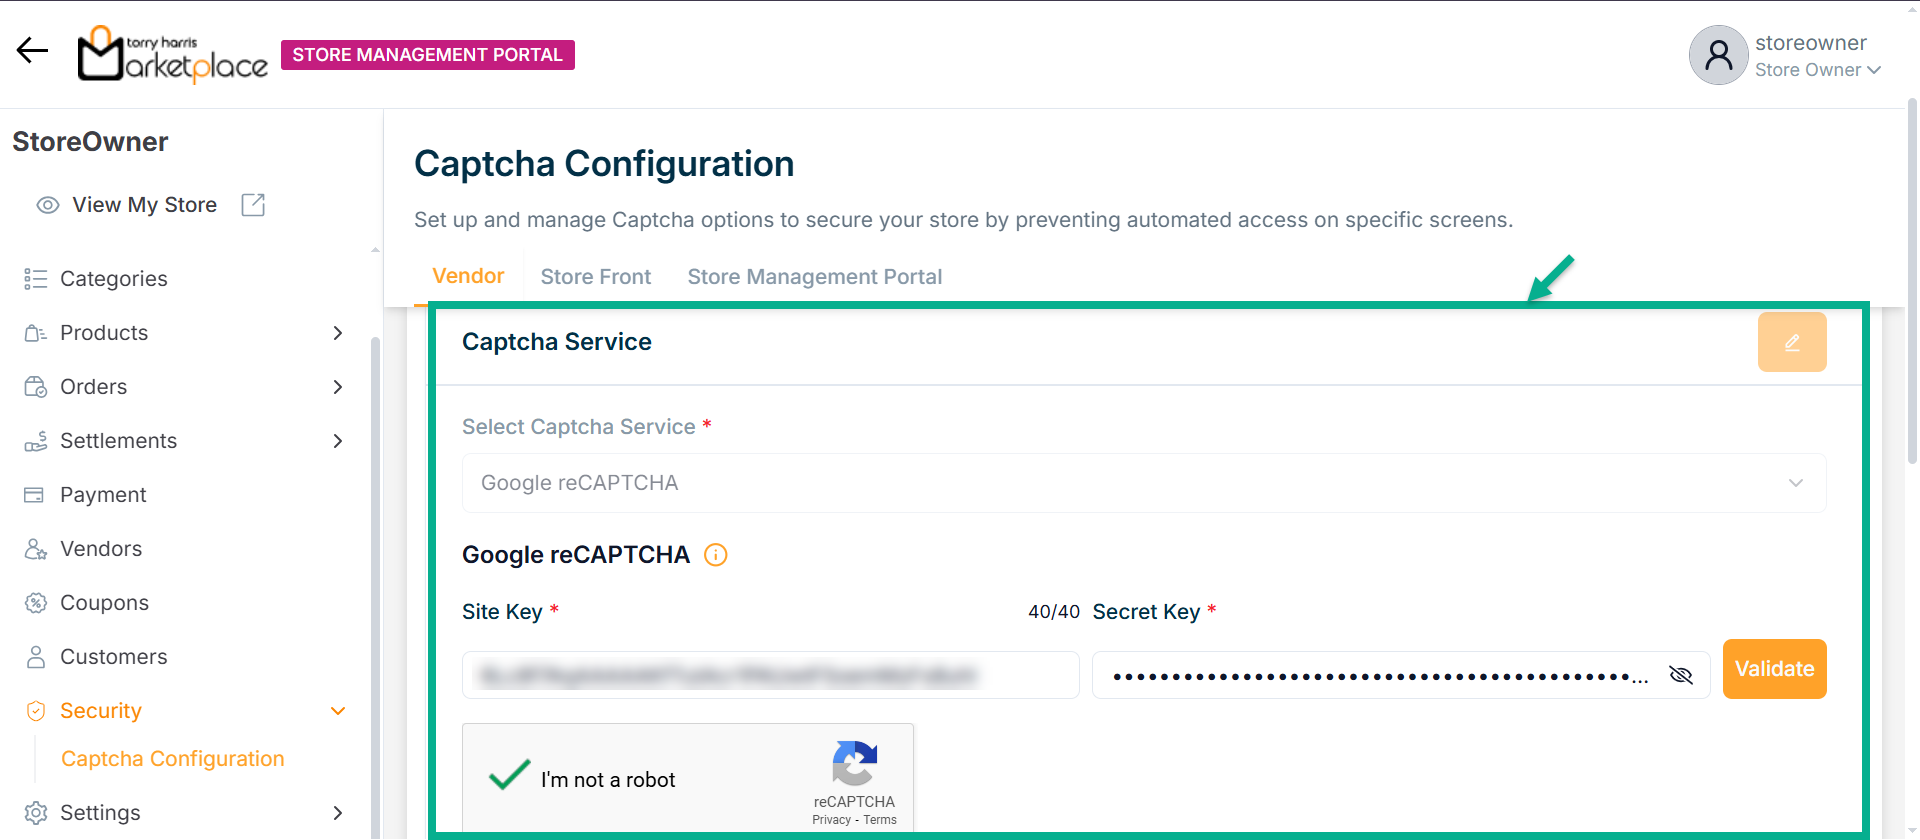
By default, Google reCAPTCHA is selected as the Captcha Service.
-
Enter Site Key and Secret Key.
-
Check the reCAPTCHA checkbox.
After clicking the reCAPTCHA checkbox, a verification screen appears where you need to complete the challenge correctly to validate.
- Click on Validate.
Upon validating, the confirmation message appears as shown below.
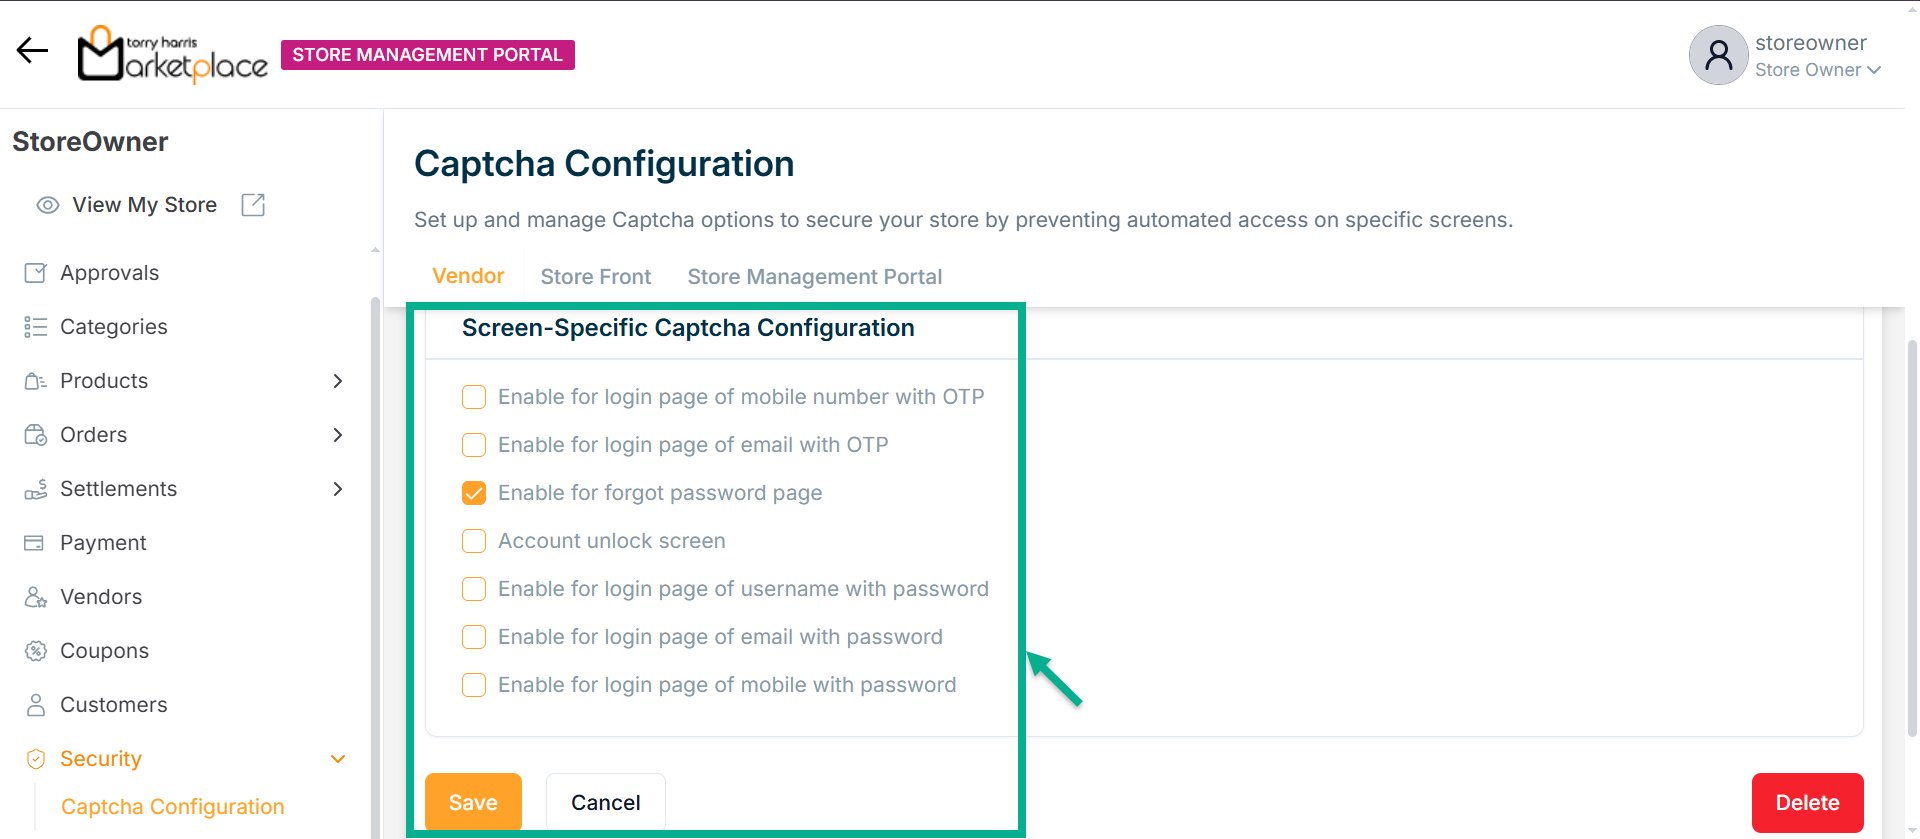
After configuring the Captcha Service, configure the Screen-Specific Captcha Configuration if necessary.
- Enable the checkbox for any Specific Screen.
For instance: If the user enable for login page of username with password
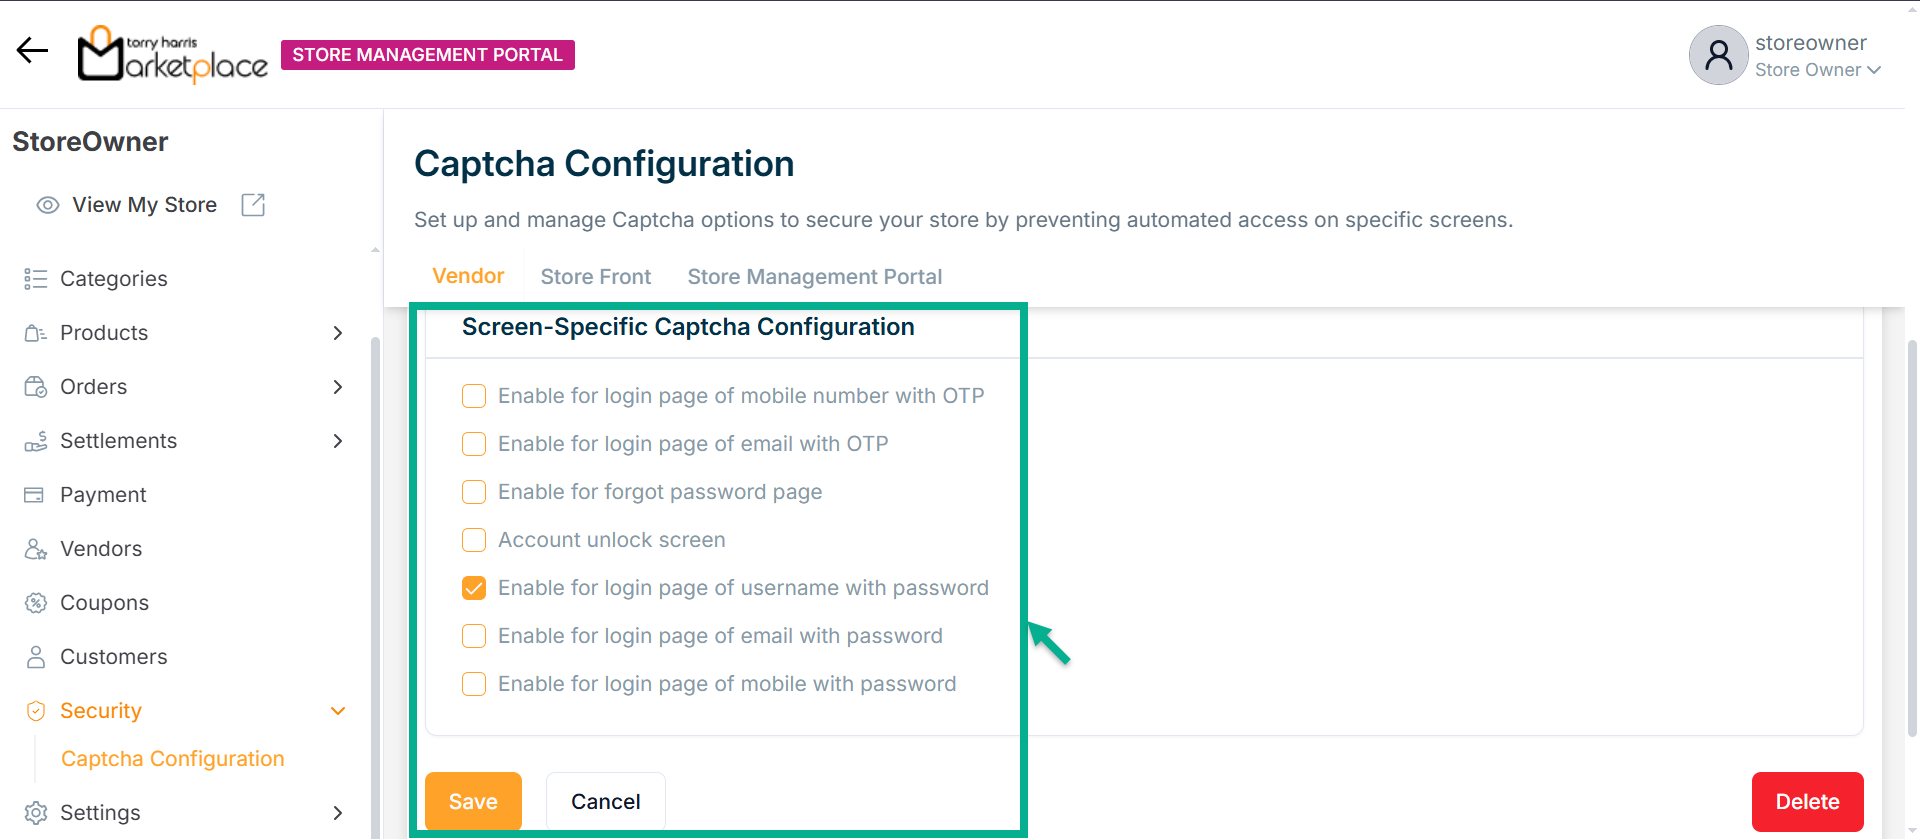
- Click Save.
Upon saving, the confirmation message appears as shown below.
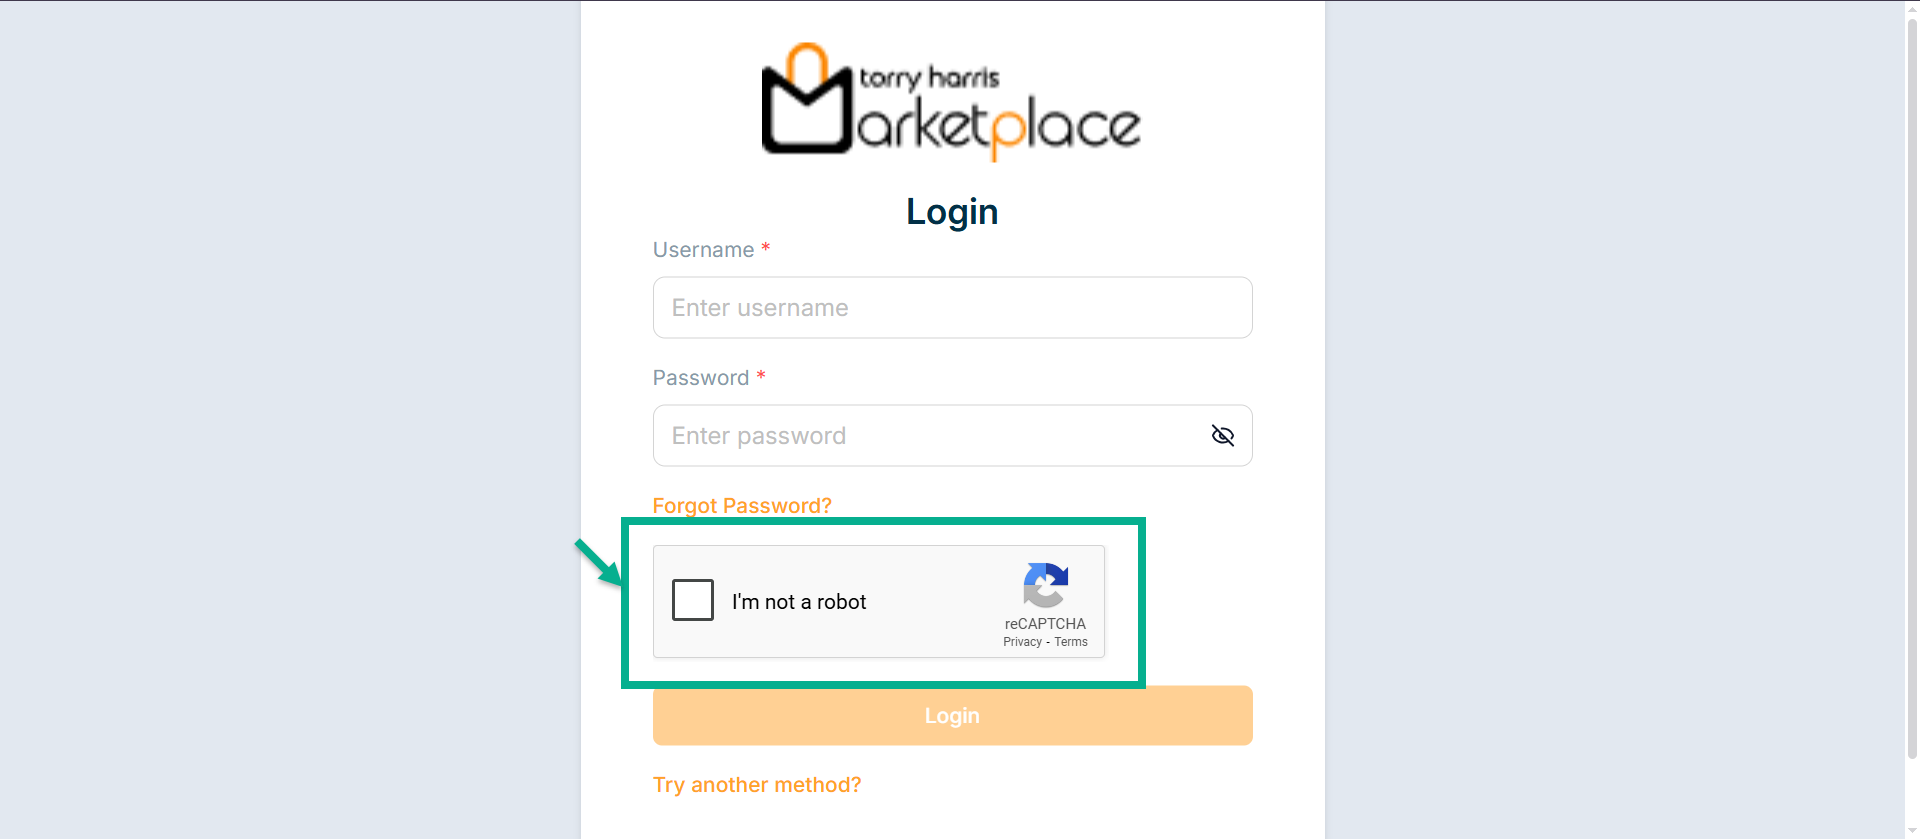
- Go to the login page of Vendor Portal
The screen appears as shown below with the reCAPTCHA.
Updating Captcha
- Click Edit.
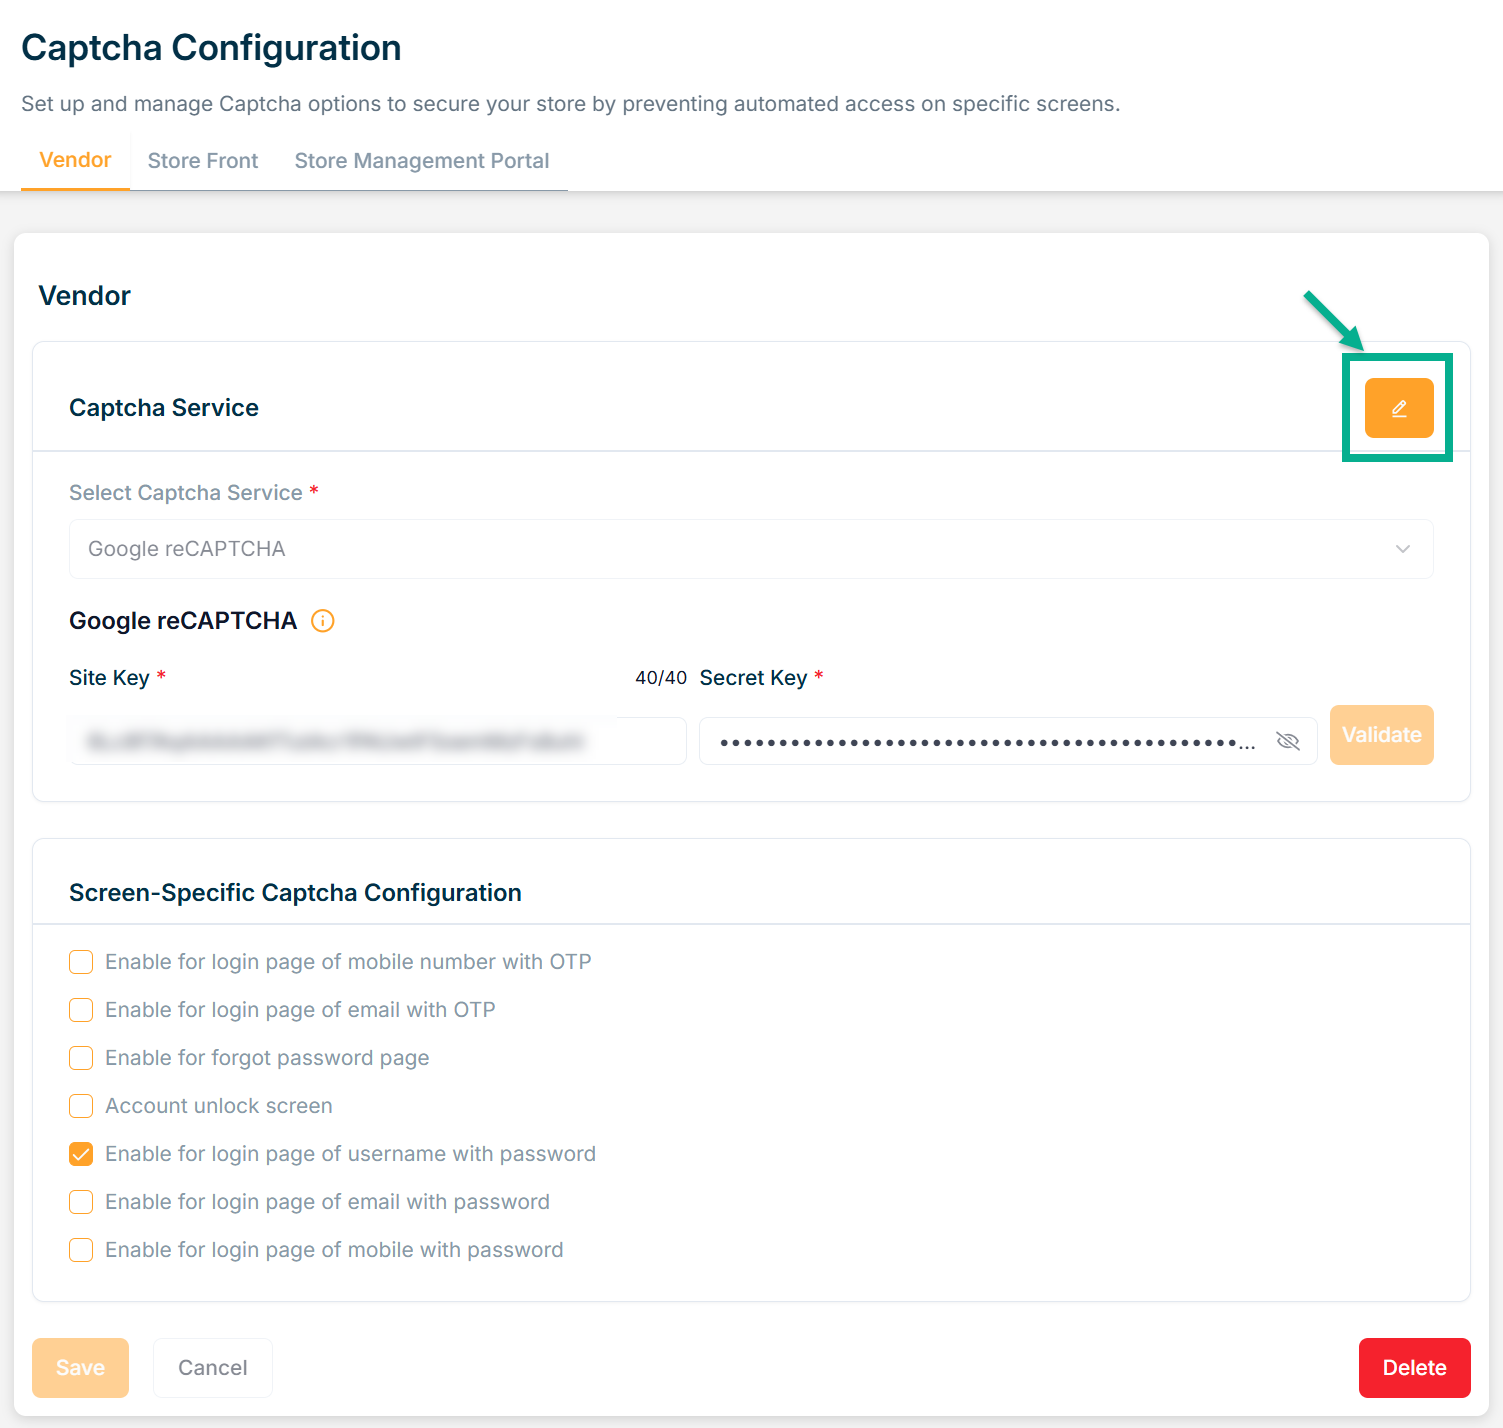
The Captcha Configuration screen appears as shown below.
-
Update the fields if required.
-
Check the reCAPTCHA checkbox.
-
Click Validate.
Upon validating, the confirmation message appears as shown below.
- Enable the checkbox for any Specific Screen if needed.
- Click Save.
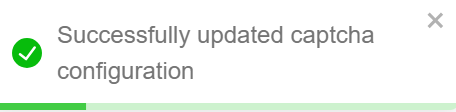
Upon saving, the confirmation message appears as shown below.
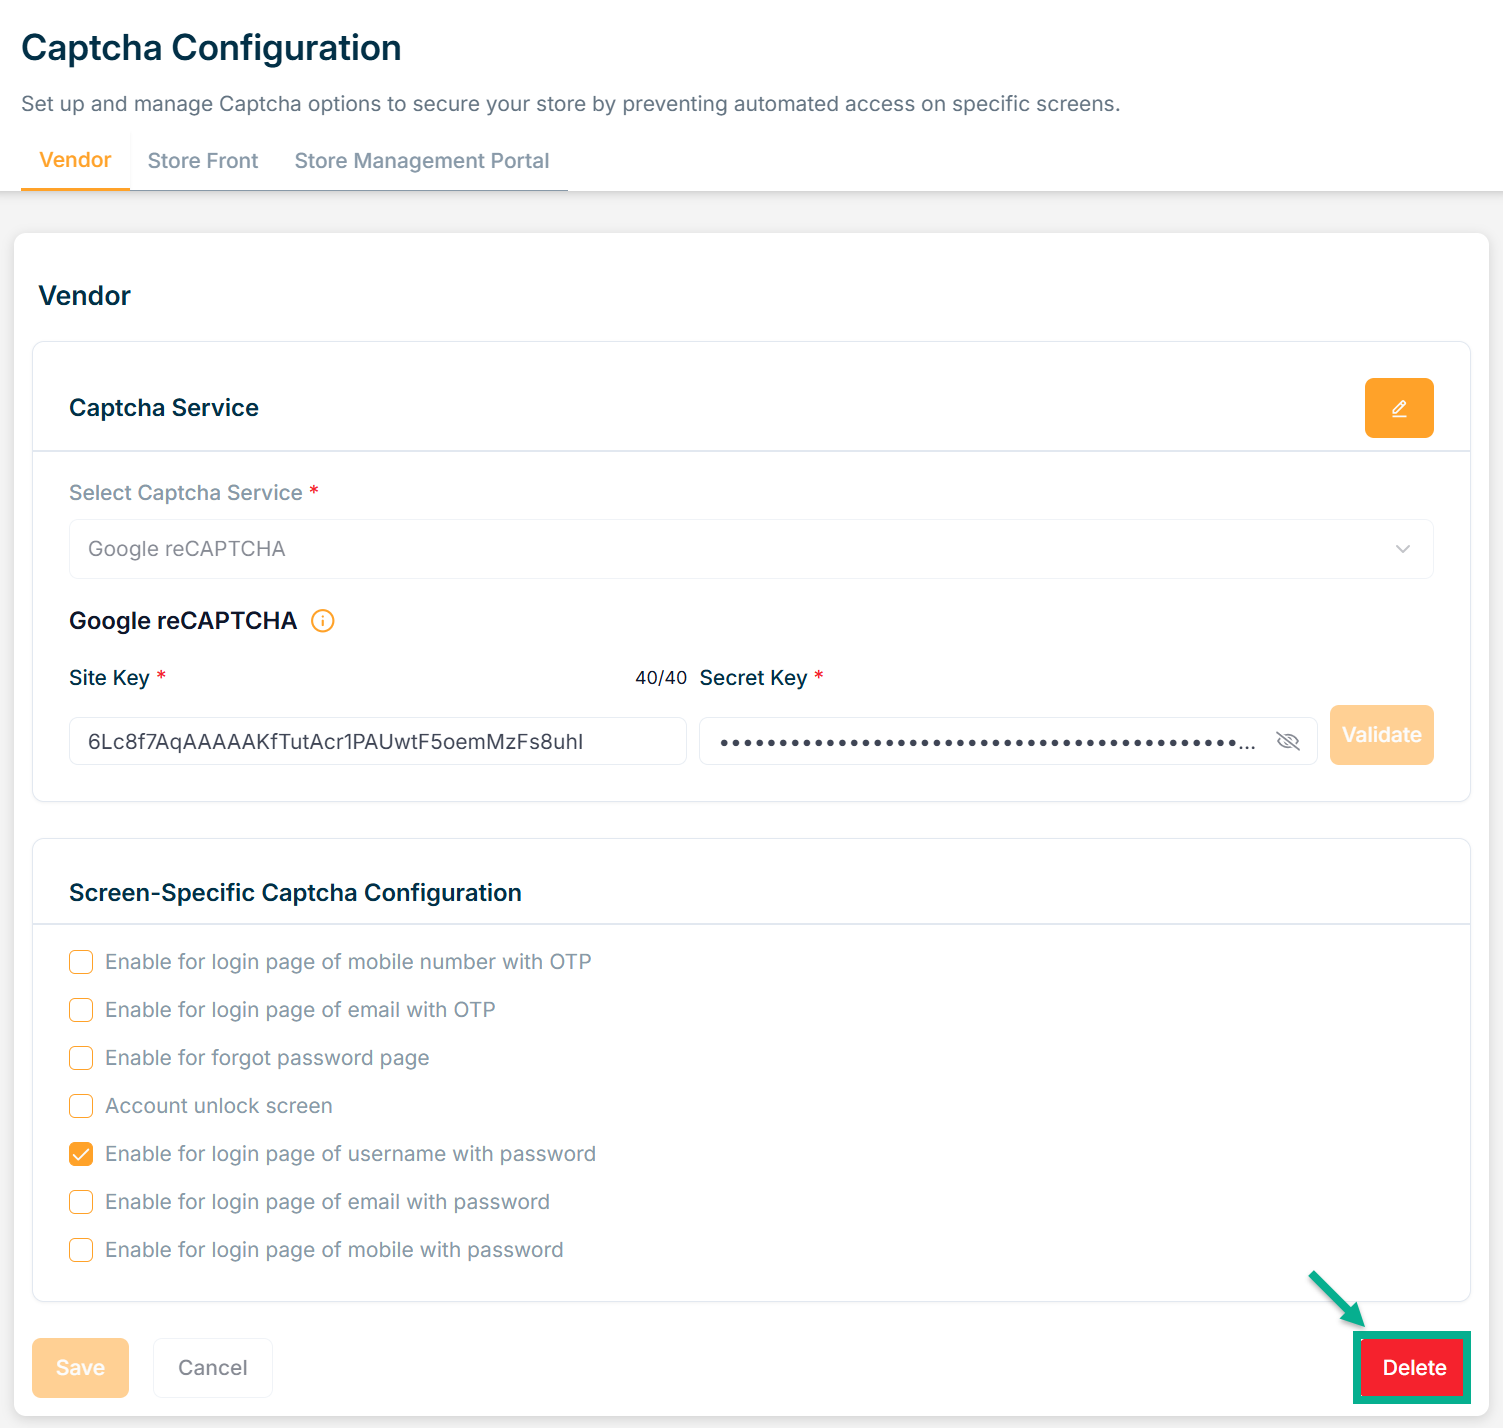
Deleting Captcha
- Click Delete.
The Confirm Delete dialogue box appears as shown below.
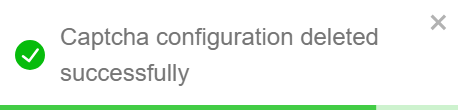
- Click Confirm.